
How to Replace a Record Player Cartridge
Vinyl isn't just back; it’s thriving. In the era of streaming, millions of music lovers are rediscovering the magic of physical records, making vinyl the fastest-growing format in music today. Whether you’re spinning for the first time or pulling an old setup out of storage, there’s something special about dropping the needle and truly owning your music.
But with every spin, one small but mighty component does the heavy lifting: the cartridge. It holds the stylus (the needle) and transforms the grooves in your records into the sound you hear. If yours is worn out or underperforming, don’t worry. Replacing a cartridge is easier than it sounds. In this guide, we’ll show you how to do it yourself, no trip to the repair shop required.
What Is a Cartridge and Why It Matters
The cartridge may seem like a small part of your record player, but it plays a critical role in your setup. It holds the stylus (needle) that rides the grooves of your vinyl and converts those physical vibrations into an electrical signal that becomes the music you hear. Without a properly functioning cartridge, you’re missing out on the full depth and richness your records have to offer.
Each cartridge contains three key components:
-
Stylus: The diamond-tipped needle that traces the grooves on your vinyl records.
-
Cantilever: The slim shaft that holds the stylus and transmits its vibrations.
-
Magnets and Coils: These transform the vibrations into an electrical signal that travels through your tonearm to your amplifier and speakers.
Together, these tiny components shape the sound quality of your entire vinyl listening experience.
Tools You’ll Need to Replace a Cartridge
Before starting, gather the right tools to ensure a smooth process:
-
Needle nose pliers: For gently removing and reattaching wires.
-
Flat screwdriver: To remove and secure the cartridge.
-
Stylus force gauge: To set the correct tracking force, protecting your records and stylus.
-
Cartridge alignment protractor: To ensure the cartridge is aligned for optimal sound and minimal record wear.
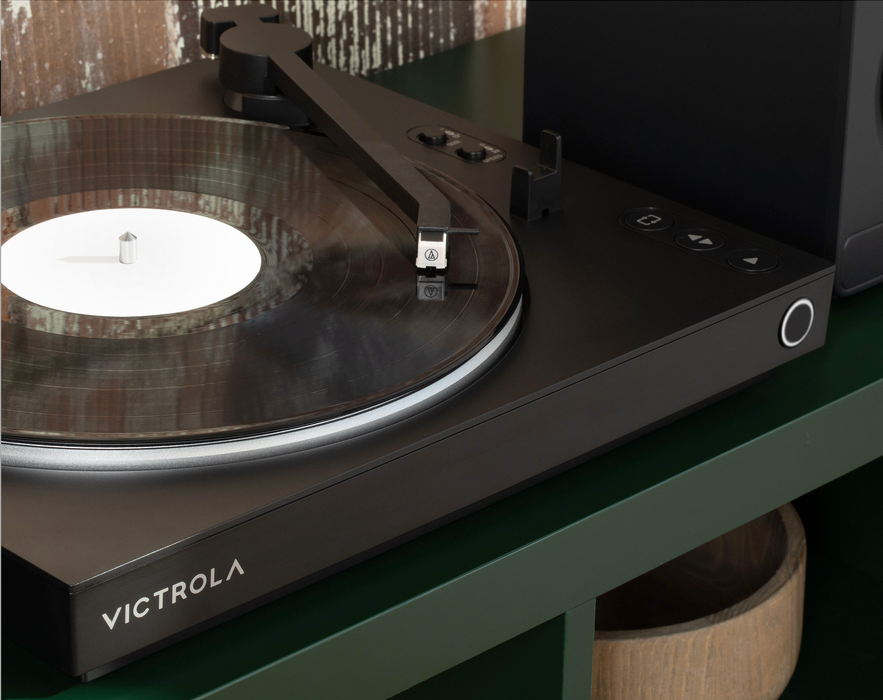
If you're new to vinyl, choosing an easy-to-use turntable can make cartridge adjustments and upgrades much simpler. The Victrola Stream Carbon offers seamless integration with Sonos and intuitive tonearm adjustments. The Victrola Automatic Turntable provides fully automatic operation, including repeat functionality, making it a perfect choice for stress-free listening.
Step-by-Step Guide: How to Replace Your Turntable Cartridge
Step One: Disconnect the Cartridge
Carefully move the tonearm away from the platter to give yourself room to work. At the back of the cartridge, you’ll find colored wires attached to small metal pins. Use needle nose pliers to gently disconnect these wires, pulling straight to avoid damage. It’s helpful to take a photo before detaching anything so you can easily reconnect the wires later.
Step Two: Remove the Cartridge from the Headshell
Using your flat screwdriver, unscrew the small screws that secure the cartridge to the headshell. Some turntables also include tiny nuts on the opposite side—be sure to save these for reinstalling the new cartridge.
Step Three: Install the New Cartridge
Position your new cartridge under the headshell, aligning it roughly where the old one sat. Insert the screws and lightly tighten them, leaving enough room for adjustments. Reattach the colored wires to the matching pins on the cartridge, using your photo as a guide. Handle the pins gently—they’re delicate.
Step Four: Set the Vertical Tracking Force (VTF)
Tracking force is the amount of pressure the stylus applies to your records. Too much force can damage your vinyl, while too little can cause the stylus to skip. Using a stylus force gauge, lower the tonearm so the stylus rests on the gauge pad, then adjust the counterweight until the gauge reads the correct force (usually found in your cartridge’s manual). For models like the Stream Carbon, this process is designed to be quick and simple.
Step Five: Align the Cartridge
Proper cartridge alignment ensures that your stylus tracks the grooves accurately and evenly, preserving both your records and stylus. Place a cartridge alignment protractor on the platter, and adjust the cartridge so the stylus sits parallel to the grid lines at both alignment points. Once satisfied, tighten the screws and recheck your alignment. Be sure to verify the tracking force again, as adjustments can affect balance.
Enjoy Your Upgraded Sound
Replacing a turntable cartridge might feel intimidating at first, but once you’ve done it, you’ll appreciate the noticeable upgrade in sound quality. By following these simple steps, you’ll protect your vinyl collection, extend the life of your stylus, and enjoy a richer, fuller listening experience.
If you’re looking for a turntable that takes the guesswork out of setup and maintenance, consider the Victrola Stream Carbon for its Wi-Fi and Sonos compatibility or the Victrola Automatic Turntable for effortless operation and modern functionality.
Pro Tip: Keep an eye on your stylus. For the best sound and to protect your records, replace the stylus approximately every 1,000 hours of play.
Posted By - Victrola
Original Source - Victrola.com